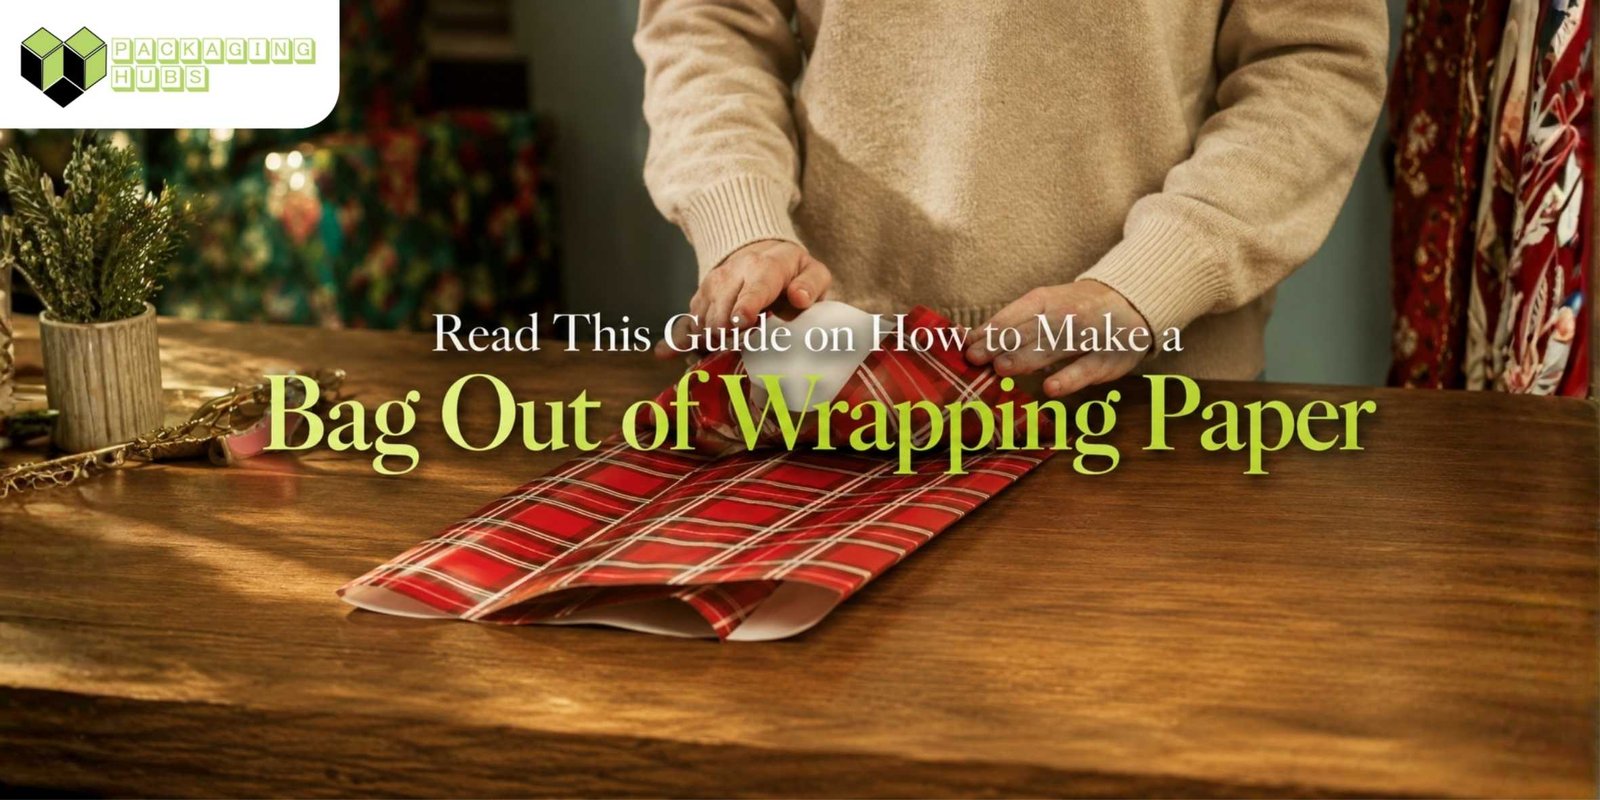
You can make a bag out of wrapping paper by folding it into a tube, sealing the side, building a flat base, and adding handles. This simple DIY method turns gift wrap into a handmade paper bag for small gifts, party favors, treats, soaps, candles, stationery, and lightweight retail items.
Packaging Hubs creates custom wrapping paper, paper bags, soap wraps, food paper, retail bags, and branded packaging for businesses across the USA. However, this guide is also useful for anyone making a quick gift bag at home. It works for personal gifts, event favors, boutique samples, and small product presentations.
If you searched how to make a bag from wrapping paper, how to make a bag with wrapping paper, or how to fold wrapping paper into a bag, the same folding method applies. Even if you typed the query as “how to.make a bag out of wrapping paper,” this guide covers the exact DIY bag method.
The method works best for light items. Regular gift wrap does not have the same strength as kraft paper, cardstock, paper shopping bags, or structured retail packaging. For heavier products, use reinforcement or choose stronger custom packaging.
Start Here: What You Need to Make a Bag From Wrapping Paper
Making a bag from wrapping paper starts with the right sheet. Very thin paper can tear near the handle holes. Very glossy paper can resist tape or glue. Therefore, medium-weight wrapping paper gives the best result.
The item inside also matters. A small candle, soap bar, jewelry box, greeting card set, or party favor can work well. However, a glass jar, heavy product, sharp item, or wet food item needs stronger packaging.
You do not need special tools. Still, a ruler helps keep the folds straight. A bone folder, butter knife, or credit card can also sharpen the creases.
If you want to make bag with wrapping paper for a gift table, event, or shop counter, start with clean paper and straight folds. Clean creases make the bag look more polished. They also help the bottom stay flat.
| Item | Why You Need It | Best Choice |
| Wrapping paper | Forms the bag body | Medium-weight paper |
| Tape or glue stick | Seals the side and base | Double-sided tape looks cleanest |
| Scissors | Cuts paper and ribbon | Sharp scissors reduce tearing |
| Ruler | Keeps folds straight | 12-inch ruler or longer |
| Hole punch | Makes handle holes | Standard single-hole punch |
| Ribbon or string | Creates handles | Ribbon, twine, or cord |
| Cardstock | Reinforces the base | Small rectangle inside the bag |
| Sticker or label | Covers seams or adds branding | Optional finishing touch |
Perfect Fit: The Best Wrapping Paper Bag Template Size
A wrapping paper bag template does not need to be complicated. The easiest template is a rectangle that wraps around your gift with extra room for the seam, base, and top fold.
Start by placing the item on the paper. Then leave space on the left, right, top, and bottom. The paper must wrap around the item and overlap at the back seam.
As a general rule, your sheet should be about twice as wide as the finished bag. It should also be tall enough to cover the gift, form the base, and leave room for the handle area.
A reader asking how to make a bag of wrapping paper usually needs this same rectangle-based setup. The final size depends on the item’s width, height, and depth.
| Finished Bag Size | Suggested Paper Size | Best For |
| 4″ × 5″ small bag | 10″ × 12″ paper | Jewelry, small favors, candy |
| 5″ × 7″ medium bag | 12″ × 16″ paper | Soaps, candles, small gifts |
| 7″ × 9″ gift bag | 16″ × 22″ paper | Books, stationery, apparel accessories |
| 8″ × 10″ tall bag | 18″ × 26″ paper | Lightweight gift sets |
These sizes are starting points. Always test the item on the sheet before cutting the final piece.
How to Make a Bag With Wrapping Paper in 10 Easy Steps
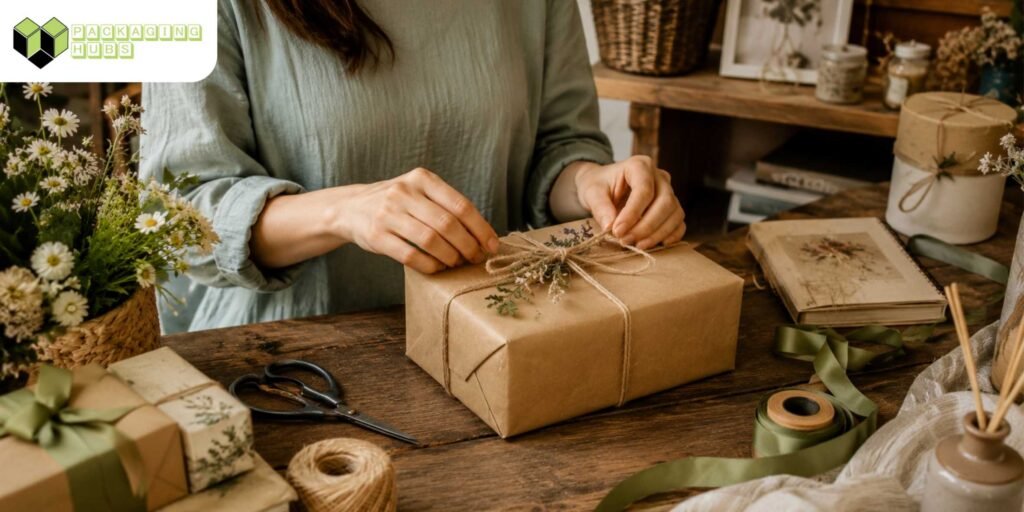
This section explains how to make a bag with wrapping paper using a flat folded base. The flat base helps the bag stand upright. It also makes the gift presentation look cleaner.
Take your time with each fold. A handmade bag looks best when the seams are straight and the bottom sits flat.
Step 1: Cut the Wrapping Paper
Place the wrapping paper face down on a clean table. Put your gift near the center and leave extra room around it. Then cut the paper larger than the item.
Leave more paper than you think you need. You can always trim the top later. If the sheet is too short, the bottom may not close properly.
Step 2: Fold Both Sides Toward the Center
Bring the left and right sides toward the center. Let them overlap by about half an inch. This overlap becomes the back seam of the bag.
Keep the printed side facing outward. Then press each fold firmly with your ruler or finger. A straight seam helps the final bag look professional.
Step 3: Seal the Back Seam
Apply double-sided tape, clear tape, or glue along the overlapping edge. Press the seam down firmly. If you use liquid glue, let it dry before shaping the base.
Double-sided tape gives the cleanest finish because it hides inside the seam. Clear tape works faster, but it may show on glossy paper.
Step 4: Fold the Bottom Up
Fold the bottom edge upward by about 2 to 3 inches. The exact fold depends on the size of the bag. A deeper fold creates a wider base.
Crease the fold firmly. This fold becomes the bottom, so keep the edge sharp and even.
Step 5: Open the Bottom Fold Into a Diamond
Open the folded bottom section. Press the left and right corners inward to create two triangle shapes. The bottom should now look like a flat diamond.
This is the key step when you turn wrapping paper into a bag. A neat diamond creates a stronger and cleaner base.
Step 6: Fold the Diamond Points Into the Center
Fold the top point of the diamond down toward the center. Then fold the bottom point upward so it overlaps the first fold. The two flaps should cross slightly.
Tape or glue the overlap. Then press the base flat. This creates a sealed bottom panel.
Step 7: Add a Cardstock Base
Cut a small rectangle of cardstock that fits inside the bottom. Place it inside after sealing the base. This gives the bag more support.
A cardstock base helps with soaps, candles, cosmetics, small boxes, and heavier treats. It also helps the bag stand straighter.
Step 8: Fold the Top Edge
Fold the top edge inward by about half an inch. Then fold it again for a stronger rim. This helps prevent tearing near the handle holes.
If the paper is thin, add tape or a narrow cardstock strip inside the rim. This small reinforcement can make the handles much stronger.
Step 9: Punch the Handle Holes
Use a hole punch to make two holes on the front and two holes on the back. Keep the holes even. Do not punch too close to the top edge.
If you do not have a hole punch, skip the handles. Instead, fold the top closed and seal it with a sticker.
Step 10: Add Ribbon Handles
Thread ribbon, twine, or string through the holes. Tie knots inside the bag to keep the handles secure. Pull gently to test the strength.
This is the easiest way to make a bag with ribbon handles. For a polished look, match the ribbon to the wrapping paper. For a natural look, use kraft twine or cotton cord.
How to Make a Paper Bag With Handles From Wrapping Paper
Learning how to make a paper bag with handles starts with reinforcement. Wrapping paper can tear when ribbon pulls against the holes. For that reason, strengthen the top edge before punching holes.
Fold the top edge twice or add a cardstock strip inside the rim. Then punch the holes through the reinforced area. This spreads the pressure across more paper.
Ribbon handles work well for light gifts. Twine works well with kraft paper or natural prints. Cotton cord works well when you want a softer handle.
Do not use this handle style for heavy items. A homemade wrapping paper gift bag is better for presentation than heavy carrying.
How to Fold Wrapping Paper Into a Bag Without Handles
You do not always need handles. A handle-free bag works well for cookies, party favors, small stationery sets, seed packets, stickers, jewelry, and lightweight gifts. It also works when you want the top to close with a sticker, ribbon, or label.
To make this version, follow the same folding method. After sealing the base, place the gift inside and fold the top down. Then seal the top flap with a sticker or piece of tape.
This style looks closer to a paper pouch. It uses less ribbon and has fewer weak points. It also works better with thin wrapping paper because the top does not need to carry weight.
If you want to know how to make a pouch out of wrapping paper, keep the base narrow. A narrow base creates a flatter pouch shape. That style works well for cards, candy, soaps, and small favors.
Tiny Gifts, Beautiful Bags: How to Make a Small Bag Out of Wrapping Paper

Small bags are easier to make than large bags. They use less paper, hold their shape better, and need less strength. They work well for party favors, jewelry, wax melts, samples, lip balm, soap bars, candy, and small retail gifts.
Start with a smaller sheet and a narrow bottom fold. Use thin ribbon so the handles do not look bulky. If the item has any weight, add cardstock inside the base.
Small wrapping paper bags should not carry glass jars, heavy candles, or sharp items without reinforcement. The handles may tear if the paper is too thin.
For a clean finish, choose paper with a small pattern. Large designs can get lost on tiny bags. Simple prints, kraft patterns, stripes, dots, and logo repeats usually look better.
Make a Gift Bag Out of Wrapping Paper That Looks Professional
A handmade gift bag looks polished when the folds are straight and the paper fits the item. The biggest mistake is using too much paper. A bag that is too wide looks loose and weak.
Use double-sided tape whenever possible. It hides the seam and keeps the outside smooth. Also, crease every fold with a ruler or flat tool.
Add a matching tag, sticker, or ribbon. These small details make the bag feel intentional. If you use plain kraft paper, a printed sticker can add branding without crowding the design.
This same process works when you make a gift bag from wrapping paper for birthdays, weddings, holidays, boutique orders, and small product launches. For business packaging, keep the artwork simple. A clean logo pattern, seasonal design, or natural kraft print often works better than busy graphics.
Making a Bag Out of Wrapping Paper: What Actually Makes It Strong?
Making a bag out of wrapping paper is simple, but strength depends on the paper and folds. The base, side seam, top rim, and handle holes carry most of the stress. If one of these points is weak, the bag may tear.
The paper thickness matters first. Medium-weight wrapping paper works better than thin foil paper. Matte paper also tends to hold creases and tape better than very glossy paper.
The base matters next. A deeper bottom fold gives the bag a wider standing area. A cardstock insert adds more support and keeps the gift from pushing directly against the paper.
Finally, handle placement matters. Holes should sit below the folded rim, not right on the edge. This gives the ribbon more support.
For heavier retail gifts, plants, boutique items, or market products, Kraft Landscape Paper Bag options can support stronger carry packaging than a handmade wrapping paper bag.
How Strong Is a Wrapping Paper Bag?
A wrapping paper bag is best for lightweight gifts. It can hold small items, but it cannot replace a real paper shopping bag, kraft bag, mailer, or paperboard box. Regular gift wrap can tear at the base or handle holes when the product is too heavy.
The strength depends on paper thickness, tape quality, base width, and handle placement. A reinforced base helps. A folded top edge also helps. However, the paper itself still sets the limit.
Use this DIY bag for presentation, not heavy transport. If the gift needs to travel, ship, stack, or sit on a retail shelf, use stronger packaging.
For product packaging, a DIY bag can inspire the look. Then a custom version can use better paper, correct sizing, stronger handles, and printed branding.
Common Mistakes When You Make Bag Out of Wrapping Paper
The first mistake is cutting the paper too small. When that happens, the side seam barely overlaps. The bottom flaps may also fail to close well. Always leave extra space before trimming.
The second mistake is making the base too shallow. A shallow base may look fine while empty, but it can collapse when the gift goes inside. Use a deeper bottom fold for wider items.
The third mistake is punching handle holes too close to the top edge. Thin paper tears quickly under handle pressure. Fold the top edge first, then punch through the reinforced area.
The fourth mistake is using glossy paper with weak tape. Some glossy papers resist glue and tape. Test a small seam before making the full bag.
The fifth mistake is using the bag for the wrong item. A wrapping paper gift bag works best for light, dry, smooth items. Heavy, wet, sharp, or fragile items need better structure.
10 Creative Ways to Use Wrapping Paper Gift Bags
Wrapping paper gift bags work well when presentation matters more than strength. They are perfect for last-minute gifts and small items that do not need heavy-duty packaging.
They also work well for events. A party host can make matching favor bags from the same wrapping paper used on the table. A small business can use branded wrapping paper for samples or local pickup orders.
Handmade sellers can use this idea for soaps, candles, jewelry, stickers, art prints, and stationery. However, the bag should match the product weight. A light soap bar may work. A heavy jar candle may need a box.
| Use Case | Best Bag Style | Extra Tip |
| Party favors | Small flat bag | Close with a sticker |
| Jewelry | Mini gift bag | Add cardstock base |
| Soap bars | Small upright bag | Use thicker paper |
| Stationery | Flat pouch style | Avoid deep bases |
| Candy or treats | Handle-free pouch | Use food-safe inner wrap |
| Boutique gifts | Ribbon-handle bag | Match ribbon to print |
| Retail samples | Branded paper bag | Add logo sticker |
| Holiday gifts | Seasonal gift bag | Reinforce handle holes |
| Event giveaways | Small pouch bag | Use one matching paper pattern |
| Local pickup orders | Branded paper bag | Add sticker or logo tag |
Food, Soap, and Bakery Gifts Need the Right Inner Wrap
Wrapping paper can look beautiful, but most decorative gift wrap should not touch food directly. Many printed or glossy papers are made for presentation, not direct food contact. Therefore, food gifts need a food-safe layer before they go inside the bag.
For cookies, pastries, sandwiches, butter products, candies, and bakery gifts, use a proper food wrap first. Then place the wrapped item inside the handmade bag. This keeps the outer paper decorative while the inner layer handles food contact.
Soap also needs the right wrapping choice. A soap bar may need paper that fits the bar tightly, protects the surface, and leaves room for scent, ingredients, barcode, or batch details.
For handmade soap brands, skincare sellers, spa retailers, and gift soap lines, Soap Wrapping Paper can support printed soap wraps, kraft paper wraps, belly bands, scent labels, QR panels, and retail-ready soap presentation.
This is the better approach for edible gifts and soap products. The outside bag creates the look. The inner wrap supports cleaner handling and a more finished product experience.
How to Turn Wrapping Paper Into a Bag by Reusing Leftover Sheets
Turning wrapping paper into a bag is a useful way to reuse leftover paper. It can help reduce waste from gift wrap scraps after holidays, birthdays, events, and retail promotions.
The EPA promotes reducing, reusing, and recycling as part of waste prevention. Reuse is practical when the paper still looks clean and strong. You can review the EPA’s resource here: Reduce, Reuse, Recycle.
Before reusing paper, check for tears, tape marks, glitter, heavy creases, or weak spots. Damaged paper can still work for small pouches, tags, inserts, or decorative bands.
A reused wrapping paper bag does not need to look perfect. Clean folds, a strong base, and a good ribbon can make leftover paper feel intentional again.
Eco-Friendly Wrapping Paper Bags for Gifts and Retail
Many people want to make gift bags from wrapping paper because they want a lower-waste option. That goal makes sense, but the material still matters. Some wrapping papers include glitter, foil, plastic coating, metallic ink, or heavy lamination.
Simple paper-based wrap is usually easier to reuse. It may also fit recycling programs better than heavily decorated paper, depending on local rules. Still, recyclability depends on the exact paper and local recovery access.
For brands that need gift wrap with a clearer material direction, Eco Friendly Wrapping Paper can support kraft paper, recycled-content direction, recyclable wrapping paper direction, seasonal paper, and custom printed gift wrap.
This works well for retail stores, ecommerce brands, corporate gifts, bakeries, boutiques, and handmade product sellers that want a more thoughtful paper packaging system.
Be Careful With “Eco-Friendly” Claims
If you sell products, avoid making broad claims only because the bag uses paper. Terms like recyclable, recycled, compostable, biodegradable, and sustainable need support. A paper bag with glitter, plastic coating, foil, or mixed materials may not support the claim.
The FTC explains that green marketing claims should be truthful and properly supported. It also notes that recyclable claims may need qualification when recycling access is limited. You can review the official FTC resource here: Environmental Claims: Summary of the Green Guides.
For a personal gift, this may not matter much. For a business, it matters a lot. Packaging claims should match the real paper, coating, ink, adhesive, and local recycling conditions.
A safer message is often more specific. For example, say “paper-based gift wrap,” “kraft paper wrap,” or “recycled-content paper direction” when that wording matches the actual material.
Make a Wrapping Paper Bag With Custom Printed Sheets
A DIY wrapping paper bag can also work as a branding idea. If a business already uses custom printed wrapping paper, it can turn flat sheets into small branded gift bags for samples, local orders, events, and product launches.
This is useful for boutiques, candle makers, soap brands, jewelry sellers, stationery brands, bakeries, and gift shops. The same paper can wrap products, line boxes, create inserts, or form small bags. That keeps the customer experience consistent.
For branded retail and ecommerce packaging, Customized Wrapping Paper can support logo patterns, seasonal artwork, product wraps, event packaging, and custom sheet sizes.
A custom paper pattern also makes the bag look planned. Instead of using random leftover paper, the brand can use one visual identity across wraps, bags, boxes, labels, and inserts.
When Holographic Wrapping Paper Works Better
Some gifts need more shine than a simple kraft or matte paper bag. In that case, holographic wrapping paper can create a bold, reflective look for events, product launches, holiday gifts, influencer kits, retail promotions, and limited-edition packaging.
Holographic paper is not always the best choice for every product. It can look strong for beauty, fashion, accessories, tech gifts, and premium promotional items. However, it may feel too bright for natural, handmade, or eco-focused brands.
For brands that need high-impact gift wrap or promotional packaging, Holographic Wrapping Paper can support a more eye-catching presentation. Use it when the goal is attention, celebration, or shelf impact.
If you make a wrapping paper bag with holographic sheets, reinforce the folds carefully. Glossy or coated papers may resist tape, so test the seam first.
Related Custom Packaging Options for Gifts, Food, and Retail
A handmade wrapping paper bag is useful for personal gifts and lightweight presentation. However, businesses often need stronger packaging for retail shelves, ecommerce orders, food gifts, soap products, event giveaways, and branded product lines. That is where custom packaging helps.
Packaging Hubs can help brands create wrapping paper, soap wraps, eco-friendly wrap, holographic paper, kraft paper bags, and custom printed packaging that fits the product, not just the occasion.
| Related Product | Best For | Why It Helps |
| Customized Wrapping Paper | Branded gift wrap, retail wraps, seasonal packaging | Creates a consistent brand pattern |
| Eco Friendly Wrapping Paper | Paper-based wrapping and lower-plastic presentation | Supports a clearer material direction |
| Soap Wrapping Paper | Handmade soaps, spa bars, gift soap, and retail soap wraps | Adds product-specific wrap and label space |
| Holographic Wrapping Paper | Holiday gifts, launch kits, fashion, beauty, and event packaging | Adds shine and promotional impact |
| Kraft Landscape Paper Bag | Retail carry bags, boutique products, gifts, and market packaging | Adds stronger carry support |
If your business needs wrapping paper, soap wraps, kraft paper bags, or retail packaging, Packaging Hubs can help you build a more complete branded packaging system.
When a Paper Bag Is Not Enough
A handmade wrapping paper bag is useful for light gifts, but it is not always the best package. Some products need more structure. Others need stronger edges, inserts, food-safe liners, or shipping protection.
If the product will sit on a retail shelf, a stronger paper bag or box may work better. A structured package gives cleaner panels for branding, ingredients, warnings, barcodes, and product information. It also gives better stacking or carry support.
Use the wrapping paper bag for presentation. Use stronger packaging when the product needs structure, labeling space, transport strength, or better protection.
Quick Fixes When Your Wrapping Paper Bag Does Not Look Right
If the bag leans, the base may be uneven. Open the bottom and press the diamond fold flatter. Then reseal the base with stronger tape.
If the handles tear, reinforce the top fold. Add tape or cardstock inside the rim before punching holes. Also, move the holes farther from the top edge.
If the sides wrinkle, the paper may be too thin. Use thicker wrapping paper or double the layer before folding.
If the bag will not stand, the base may be too narrow. Make a deeper bottom fold next time. Then add cardstock inside the base.
If tape will not hold, the paper may be too glossy. Use stronger double-sided tape or a glue dot. Test the seam first.
Quick Recap: How to Make Wrapping Paper Into a Bag
To make wrapping paper into a bag, cut a sheet larger than your gift. Fold both sides toward the center and seal the back seam. Then fold the bottom upward, open it into a diamond, and seal the flaps to form the base.
Next, fold the top edge inward, punch handle holes, and add ribbon. For extra strength, add cardstock to the base and reinforce the top edge. For food gifts, use a food-safe inner wrap before placing items inside the decorative bag.
This method is simple, affordable, and useful for small gifts. It also helps you turn leftover wrapping paper into something practical and gift-ready.
How do I make a bag out of wrapping paper?
Cut a sheet of wrapping paper larger than your gift. Fold the sides toward the center and seal the seam. Then fold the bottom upward, open it into a diamond, and tape the flaps closed. Add a folded top edge, punch holes, and thread ribbon through for handles.
How do you make a bag from wrapping paper?
Create a folded paper tube first. Then seal the side seam and build the bottom with a diamond fold. After that, reinforce the top and add ribbon handles. The same method works for small gift bags, favor bags, and lightweight product bags.
How to make bag out of wrapping paper without a template?
Use your gift as the sizing guide. Lay the item on the sheet and leave extra room on all sides. Then fold the paper around the item, seal the side, and create the flat base. This is the easiest no-template method.
How do I make a paper bag out of wrapping paper?
Use medium-weight gift wrap and fold it into a tube. Seal the back seam with tape or glue. Then fold the bottom into a diamond shape and tape the flaps closed. Add a cardstock base if the gift has weight.
How to make a paper bag from wrapping paper with handles?
Fold the wrapping paper into a bag shape first. Then fold the top edge inward to reinforce the rim. Punch two holes on the front and two holes on the back. Thread ribbon, string, or twine through the holes and tie knots inside the bag.
How to make paper bag from wrapping paper for small gifts?
Use a smaller sheet and a narrow base fold. This works well for jewelry, candy, stickers, soaps, lip balm, and party favors. Add cardstock inside the base if the item is slightly heavy. Use thin ribbon so the handles do not overpower the small bag.